The Pencil Tool in Adobe Illustrator allows you to draw freehand paths that you can edit later on.
Some if not most will find this method of drawing easier that using the Pen Tool. The downside is that the line you end up with will need refining and editing to make it more accurate. There are settings for this tool that you can tweak to make life easier for yourself. You will also find that if you are drawing using a Wacom Graphics Tablet instead of mouse, the results will be better already.
The Pencil Tool (shortcut N) draws a line where you drag the cursor and will add Anchor Points automatically along its length.
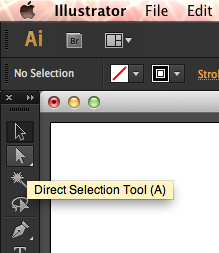
This line will usually need to be edited and refined using the Direct Selection Tool (shortcut A)
Hidden under the Pencil Tool is the Smooth Tool which will smooth the line you have just drawn with each pass. You can also access the Smooth Tool by holding down the Alt key when you have the Pencil Tool selected. This saves you time by not having to switch between one tool and the other.
If you double-click on the Pencil Tool you get access to the Pencil Tool Options. Here you can set the Fidelity and Smoothness of the line you draw. The higher the Fidelity, the closer your line is to your original line which creates more Anchor Points and the lower the Fidelity the fewer Anchor Points and the straighter your line. Smoothness controls how much smoothing is applied to the line once you have drawn your line. The higher the value the soother the line and the lower the value the closer to the original line.
Experiment with these settings to get your preferred results.
Keep Selected and Edit Selected Paths can be helpful also. Keep Selected will keep the path selected once you have completed your line and if you have Edit Selected Path enabled drawing over the line a second time will change the path.


1 comment:
But what does it all mean?
Post a Comment